Templates are a collection of Sections created by System Administrators that allow users to create consistent events.
System Administrators can create Templates using the Add/Edit Template option under Event Library. 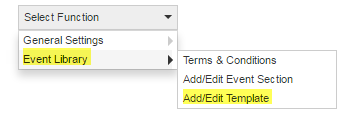
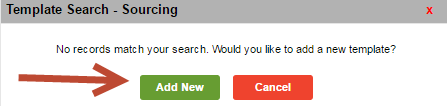
Enter the new Template name, which must be unique, and select Go. The Template Name is not visible to the suppliers but should be meaningful to the users.

Select Add New to create the new Template.
The Template Header allows the system administrator to rearrange (via drag and drop), hide, and require fields for the users who create events. Admins may also deactivate the template using the checkbox. Select Update to save changes.

- Template Name and Description: System required fields that assist users in selecting templates when creating events. Only field that cannot be configured to be visible to the suppliers.
- Create Date and Time: indicates the Day and Time the event is created.
- Due By Date and Time: indicates the supplier response submit deadline
- Sealed Event: determines if the awarding user must wait to open submitted responses until the date specified
- Sealed Date and Time: indicates the date (after the Due By Date and Time) that responses can be opened to review.
- Effective Start and End Date: Indicates the length of time the results of the event will occur with the supplier (i.e. contract, project, construction)
- Event Terms and Conditions: determines if the users must provide event specific terms or if the field is hidden.
- Attachments: determines if the event creators are required to provide attachments to the suppliers at the header level
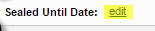
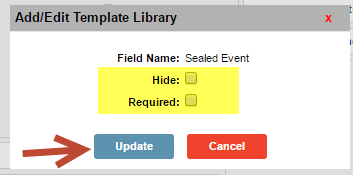
Select Edit to determine if the field is hidden or required. If not specified, the field will be optional for the users and visible to the suppliers.
Check the appropriate checkbox(es) and select Update to save changes.
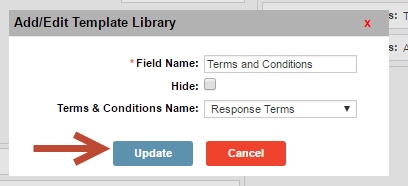
The Terms and Conditions field allows the system administrator to associate a template with one set of terms from the Terms and Conditions Library. Select Edit to select terms from the library.

The System Administrator can rename or hide the field. Use the drop-down menu to select the terms. Select Update to save changes.
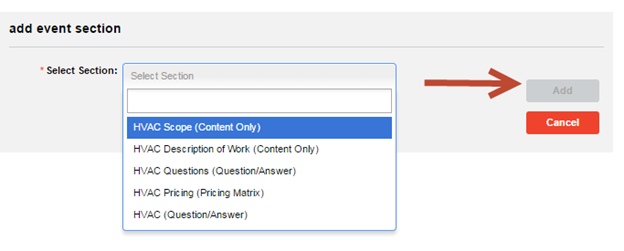
The System Administrator can order and nest sections from the library. Select the plus sign from the navigation pane to add sections.
Use the Select Section drop-down menu to choose an existing section. Select Add to confirm. As each section is added, it will be removed from the Selection Section drop-down.
Each section can be edited based on the purpose of the template (i.e. Placeholders like "Item 1"). Changes will only appear in the template. Master sections will not be affected.

Sections can be nested and/or reordered using drag and drop within the navigation pane. Section can be nested up to three levels deep – for example, 1.1.1.

The pane will show a preview of the nesting/reordering when using drag and drop.

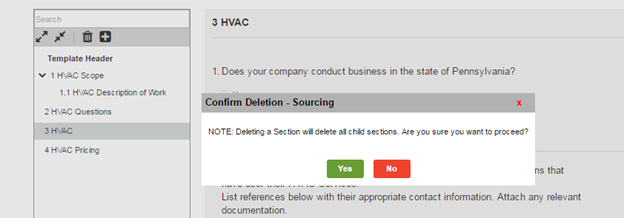
To remove a section, select the Section Name within the navigation pane and select the delete icon.

Note: Tool tips are available to indicate icon purpose.
A pop-up window will prompt the system admin to confirm deletion. Please note the following warning message: "Deleting a Section will delete all child sections. Are you sure you want to proceed?"
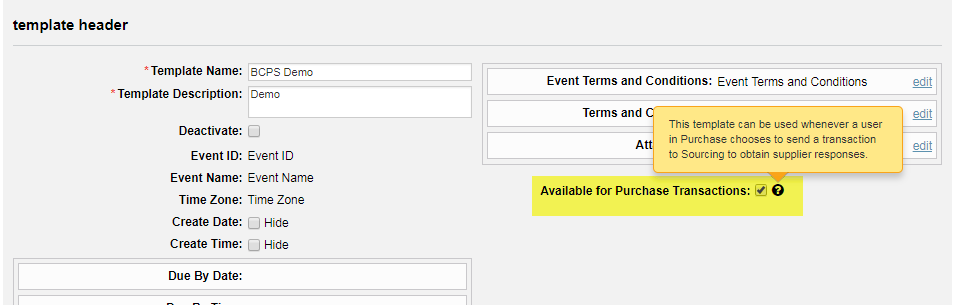
Ability to flag multiple templates for use with Purchase integration
In the Add/Edit Template screen, the “Available for Purchase Transactions" checkbox allows administrators to select multiple templates for use in creating sourcing events from purchase transactions. In Purchase, a Manage tab user will be prompted with a popup to select from any of the flagged templates if selecting the Sourcing option from the Next Step drop-down.
Comments
Please sign in to leave a comment.