The information contained in this knowledge base article are for ESM PurchaseTM users who currently have an Integrated Cart Process. It will demonstrate with short text descriptions supported by screen shots for each step explained.
Shop
The Requester will punch into ESM PurchaseTM from their ERP System. The Requester selects various items from assigned catalogs. There are two types of catalogs: Punch-out and Hosted. A Hosted Catalog contains items that are uploaded into ESM Purchase, and a Punch-out Catalog opens a customized version of the Supplier’s website.
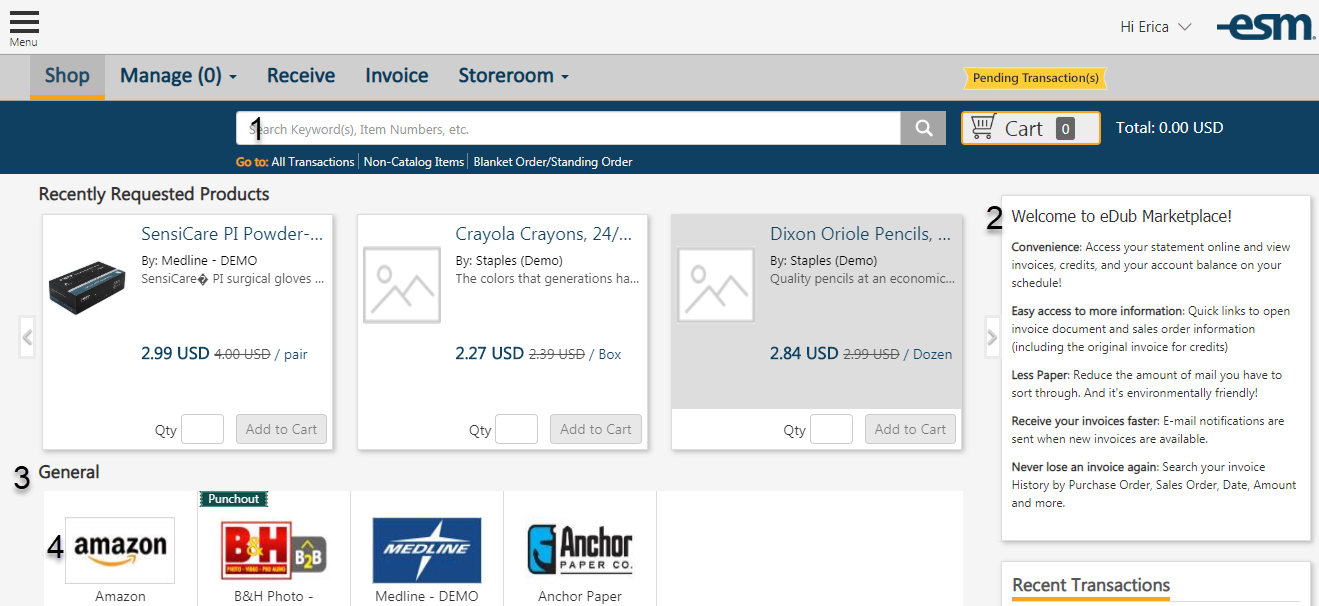
1. Search Items: Search for items from assigned catalogs
2. Information Box: Entity-wide material determined by Sys Admin
3. Category: Header to group catalogs
4. Catalog: Icon for easy access to assigned catalogs
The Requester can select a catalog or search for items.
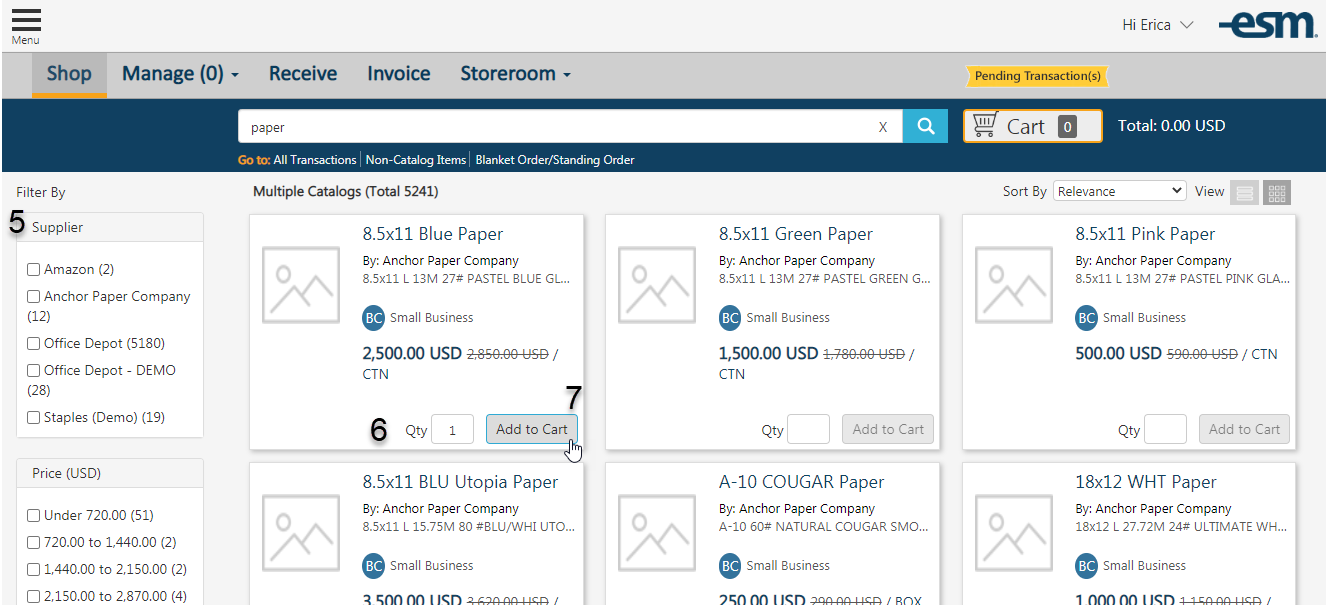
5. Filter By: Criteria to narrow down Shopping Results
6. Qty: Desired quantity for transaction
7. Add to Cart: Select when all quantities are completed
After selecting ‘Add to Cart’, the total quantity of item(s) is listed behind the Cart. The Requester can continue to Shop, or go to their Cart by selecting either of the two options highlighted below.
 Non-Catalog Item
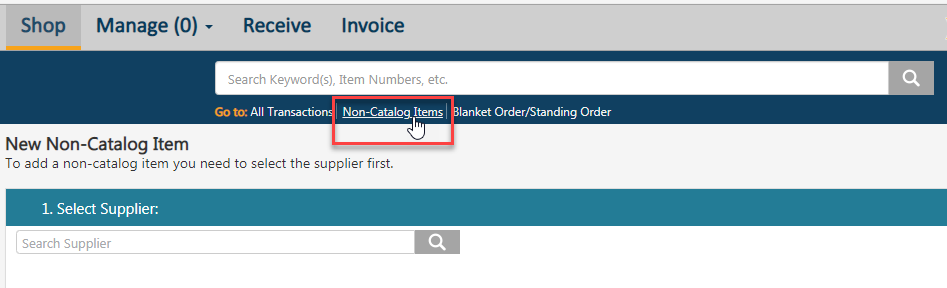
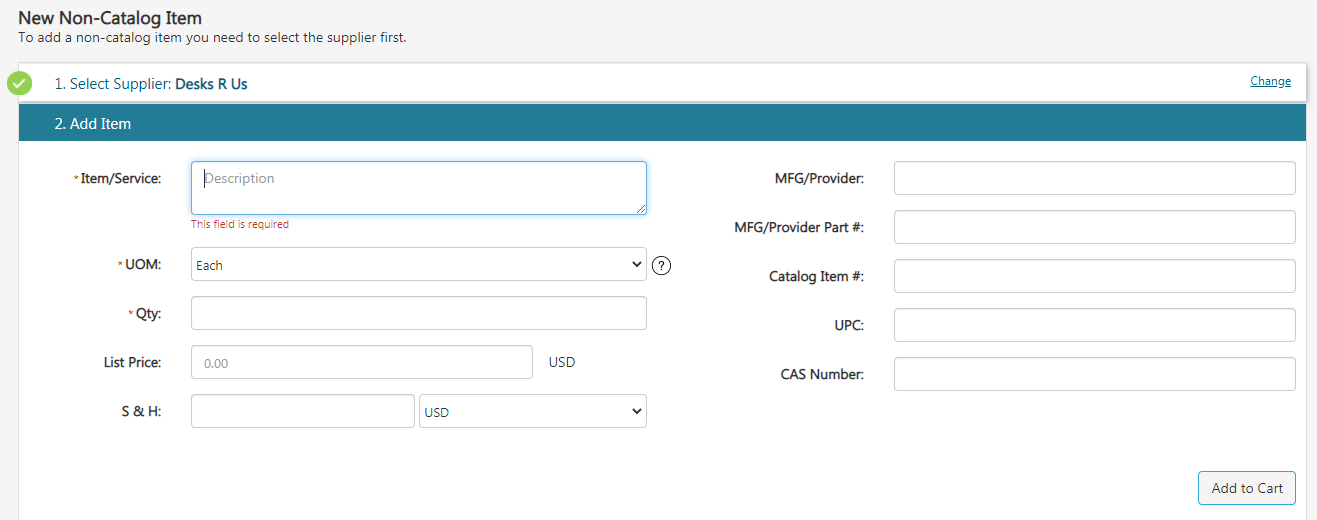
The Requester creates a Non-Catalog Item under the Search bar. A Non-Catalog Item allows the Requester to create an item that is not provided in the catalogs, if the Supplier has allowed for it.
The Requester searches for the Supplier and clicks Select.
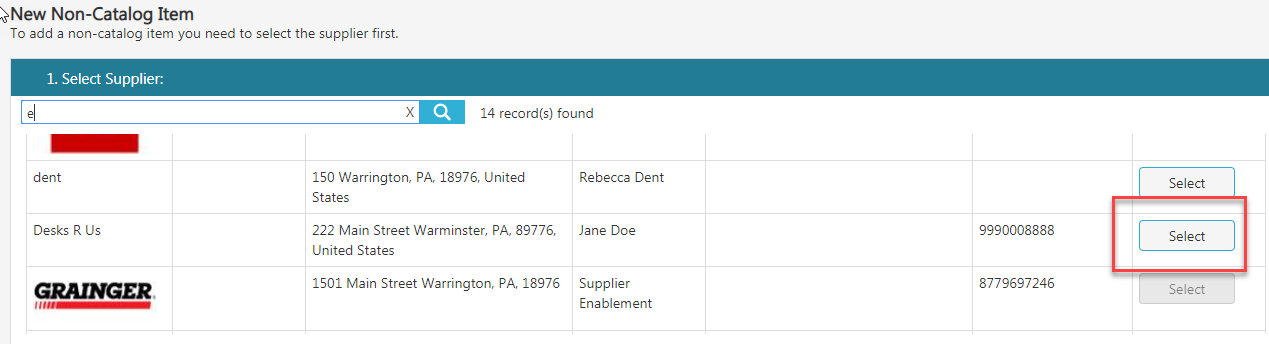 Then, the second tab, Add Item, appears. The Product Detail has required fields to create the item and ‘Add to Cart’.
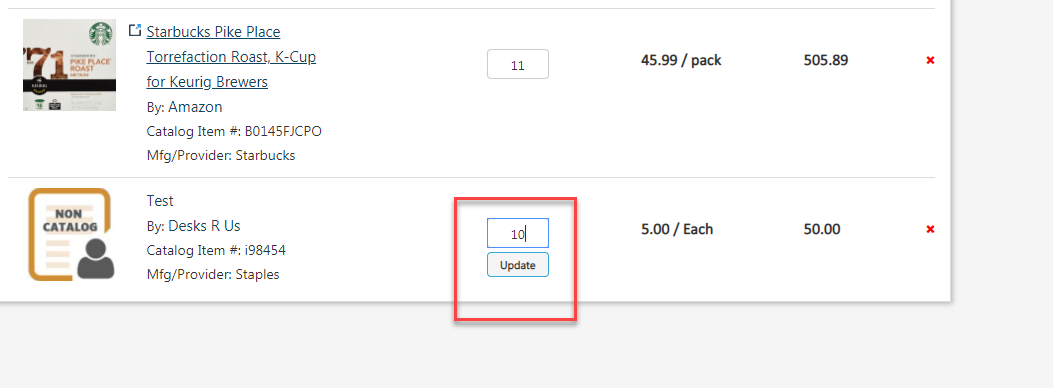
Cart
The Requester can edit the quantity or delete items. Then, Convert Cart to X transaction(s) by selecting Continue. More than one transaction is created if the items are from multiple Suppliers. The transactions are transferred back into the Requester’s ERP System.
Comments
Please sign in to leave a comment.